
Previously, I showed the programs I host on my local server. Some of them, specifically Plex, are exposed publicly so my users and I can access them from outside my network.
CGNAT
The problem is that my ISP used to put me behind CGNAT. That has several negative consequences. First, even if you expose port X publicly, it is not truly “public”, because only users from the same ISP can reach your application. Second, P2P users in torrent clients will not connect to you. It would not even be possible to access an IP camera remotely, for example.
I talked to my ISP and they were able to remove me from CGNAT at no extra cost. The problem is that they assigned me a dynamic IP, and I am not willing to pay for a static IP because it is usually expensive. The most direct solution in this case is to use dynamic DNS, which is what I chose.
Dynamic DNS
Dynamic DNS works in a very simple way. Basically, it is a script that checks whether your IP has changed. If it has, the script updates the DNS record with the new IP assigned by your ISP. The DNS record in question is the one I use to access Plex, for example: plex.domain.tld.
You might ask: what if this change happens in the middle of something important? Well, that has never happened to me. From what I saw in the logs, the last change happened overnight. Since this is media, it is not a problem because if I am in the middle of a movie, a good part of it will already be buffered. But that is the trade-off for not wanting to pay for a static IP.
Usually, this script depends on the platform that manages your DNS. Since I use Cloudflare, I could use a container that performs this check, like the well-known github.com/favonia/cloudflare-ddns. But this can also be done through OpenWrt, which is actually better because the IP is fetched from the interface and it is one less container to manage. There is a specific package for Cloudflare: https://openwrt.org/packages/pkgdata/ddns-scripts-cloudflare.
< DDNS OPENWRT PHOTO HERE >
Configuration
The first thing to do is create the DNS record in Cloudflare. The only thing to pay attention to is the proxy setting, because certain types of content cannot go through the proxy. So if you are using Jellyfin or Plex, it is better to leave it disabled.
The script also needs a Cloudflare API token so it can update the DNS record when needed. Create it by going to Profile -> API Tokens.
Installing the package on OpenWrt is very simple (older versions will use opkg):
apk update
apk add ddns-scripts ddns-scripts-cloudflare luci-app-ddns ca-bundle
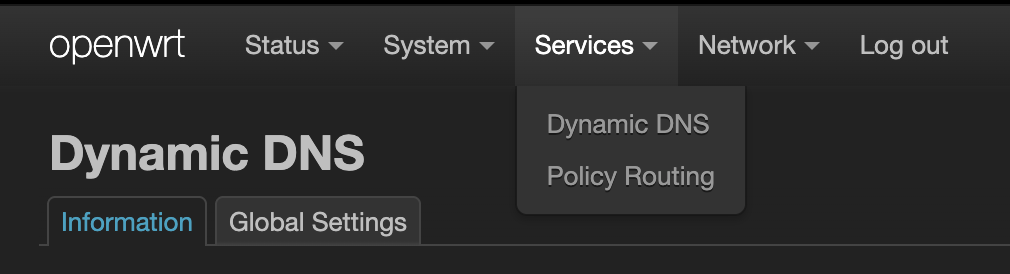
After installation, a new menu will appear in LuCI under Services -> Dynamic DNS:
You can configure it either through the interface or through the command line. I prefer using the CLI, so here are the commands:
uci set ddns.plex=service
uci set ddns.plex.enabled='1'
uci set ddns.plex.service_name='cloudflare.com-v4'
uci set ddns.plex.lookup_host='plex.domain.tld'
uci set ddns.plex.domain='plex.domain.tld'
uci set ddns.plex.username='Bearer'
uci set ddns.plex.password='<CLOUDFLARE API TOKEN>'
uci set ddns.plex.interface='wan'
uci set ddns.plex.ip_source='network'
uci set ddns.plex.ip_network='wan'
uci set ddns.plex.use_https='1'
uci set ddns.plex.check_interval='10'
uci set ddns.plex.check_unit='minutes'
uci set ddns.plex.force_interval='72'
uci set ddns.plex.force_unit='hours'
uci commit ddns

/etc/init.d/ddns enable
/etc/init.d/ddns restart
Basically, these commands configure the script to check every 10 minutes whether the IP has changed. This is a very reliable way to use DDNS because it runs on the router, which is always on.